
Overview
The Employee Module controls who has access to your property's BuildingLink platform and allows property management to assign different levels of access to specific users. For simplicity, we refer to everyone who has BuildingLink access as an “employee,” regardless of the user’s actual role at the property. The Employee Module is also where you’ll go to manage employee work schedules or configure an employee photo directory.
Note: Click on the images to enlarge them.
Table of Contents |
Employee Authority Levels
When adding a new employee, you will be prompted to choose an authority level. You will also notice that there are authority levels specified for each employee on your employee list. These authority levels control how much of BuildingLink the employee can access--they do not reflect actual job titles at the property. Below is a brief description of the four BuildingLink Authority Levels:
Note: Some of these abilities depend on your property’s settings and can be further limited or expanded if you wish using Special Permissions.
Front Desk: The most limited staff authority level.
- Can record/track packages.
- Can enter PTE /guest authorization instructions and expire them.
- Can enter maintenance requests on a resident’s behalf and for common areas but CANNOT edit / change status/ add notes to those requests.
- Can search for resident data (phone numbers, emails etc.) but CANNOT edit any of that data.
- Can add an amenity reservation request on a resident’s behalf but CANNOT approve or decline the request.
Maintenance:
- Can do everything a Front Desk level staff member can do.
- Can edit / change status/ add notes to maintenance requests.
Management:
- Can do everything a Maintenance level staff member can do.
- Can edit resident information and create/deactivate occupant profiles (move ins/ move outs).
- Can approve/reject amenity reservation requests.
- Can add documents to the building Library.
- Can add events to the building Calendar.
- Can approve/reject resident bulletin board posts.
- Can send building-wide emails
- Can create announcements.
- Can create surveys.
- Can add new Front Desk level, Maintenance level, or Management level employees.
- Can run assorted data reports.
Security Officer (Highest level of authority):
- Can do everything a Management level staff member can do.
- Can use the Emergency Broadcast System.
- Can use Special Permissions.
- Can rename, activate, and deactivate categories and form fields in the Asset Manager.
Adding and Viewing Employees
To give someone BuildingLink access, simply add them to the Employee List. Go to the Manage tab and select Employees. Next, click on the tab at the top of your screen that says Employee List. (Depending on your property’s settings, this tab may already be selected.) Here, you’ll be able to see everyone who currently has access to your BuildingLink system. To add someone new, click Add New Employee and fill out the required fields .At minimum, you will need to add First/Last name, Username and Authority Level and additional information can be added at your discretion. Also, be sure to select the appropriate authority level (see "Employee Authority Levels" section for more details) this will determine how much of BuildingLink the new user will be able to access. Once you’ve completed the form, click the green Save button in the top right corner.
Note: You may only add employees who will be on an equal or lower authority level than your own.


Accessing and Sending Staff Login Information
To distribute employee login information, go the Manage tab and select Employees, then click Employee List. Click Edit next to the name of the user whose login information you wish to send. You’ll then have the option to use either the blue Print Login Info button or the green Email Login Info button to view, email, or print the employee’s username and password. Email Login Info only works if the employee has a valid email address in their profile.
Note: You may only distribute login information for employees who are on a lower authority level than your own unless you are a Security Officer authority level user.


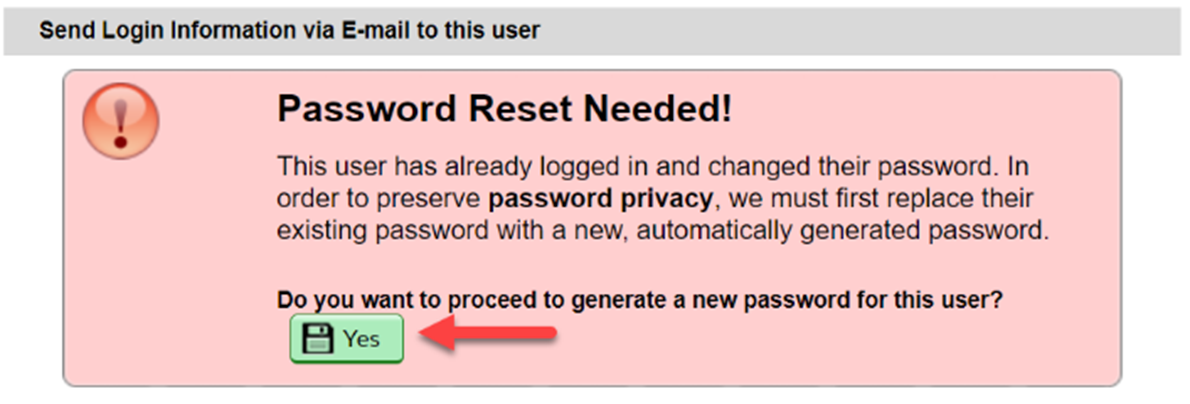
If the employee has already changed their default password, the BuildingLink system will prompt you to reset their password to a temporary password to allow them immediate access. Upon logging in, the temporary password can be changed to the employee’s preferred password.
Editing Employee Profiles
If you wish to edit an employee profile for any reason (to change an authority level, add additional data in fields like “Birthday” or “Bio,” change an email address, etc.), simply go to the Manage tab, then Employees, and then Employee List and click Edit next to the employee’s name whose profile you wish to edit. You’ll then be taken to a form where you can change any of the existing information or add new information. Be sure to click Save All Changes when you are finished editing.

Removing/Deactivating Employees
Go to the Manage tab and select Employees, then Employee List. Click Edit next to the employee’s name whose BuildingLink access you wish to deactivate. Next, either select Inactive next to "Status of This Employee” or click the red Deactivate button.
The employee will be immediately blocked from logging into BuildingLink in the future, and they will not receive a notification email when they are deactivated.
Note: You may only deactivate employees who are on a lower authority level than your own unless you are a Security Officer authority level user.


You can always access the information for an Inactive Employee, as well as reactivate them should you need to. Simply use the Include Inactive Employees check box at the top of the Employee List tab. Employees will retain the same Username/Password if reactivated.

Setting Up Your Employee Photo Directory
Go to the Manage tab and select Employees. Next, click on the tab at the top of your screen that says Photo Directory. Click on Configure to customize the photo directory. You’ll be able to add photos, choose whether your directory is shown to residents, select your preferred layout style, and choose which fields you’d like displayed (Birthday, Bio, etc.). These fields pull data from the Employee profiles, so be sure that you’ve added all the information you’d like to show in the actual Employee profiles (see “Editing Employee Profiles” section above). You can also use the numbers to control the order in which the employees are displayed, or choose the blue Sort Employees Alphabetically button. By default, all of the employees on your Employee List will be displayed in your Photo Directory; if you wish to exclude specific people from the Photo Directory, you can do so by editing their employee profiles and choosing No next to Include this employee in the Photo Directory (see “Editing Employee Profiles” section above).


Tracking/Managing Employee Work Schedules
Go to the Manage tab and select Employees. Next, click on the tab at the top of your screen that says Manage Work Schedules. You’ll see a list of all your employees, along with any work schedule information you’ve already entered. To add additional information or edit existing information, simply click Edit next to the employee’s name whose work schedule information you wish to add/edit. You’ll then be able to add his/her work schedule using the drop-down menus. If you would like to see a daily schedule, click on the Daily Schedule tab on the top of your screen. If you would like to keep track of employee hours worked, please see our TimeTracker section.
